Lesson 1: Intro to Arduino. Working with LEDs
Let's first of all start with presentation about Arduino. And then we will begin to mini projects.
Task 1:
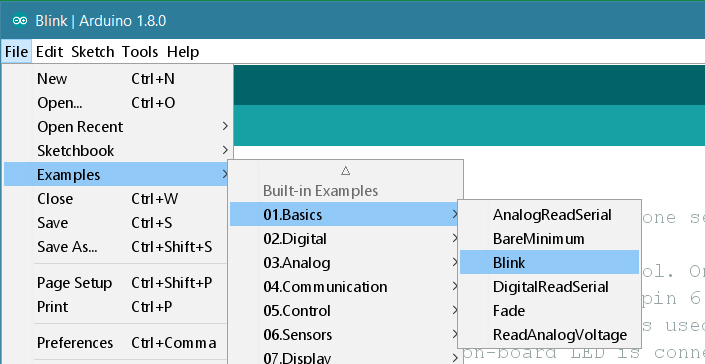
For this task we will need only Arduino UNO and USB cable. Connect Arduino board to the computer. Open Arduino IDE software.
Select your board type:

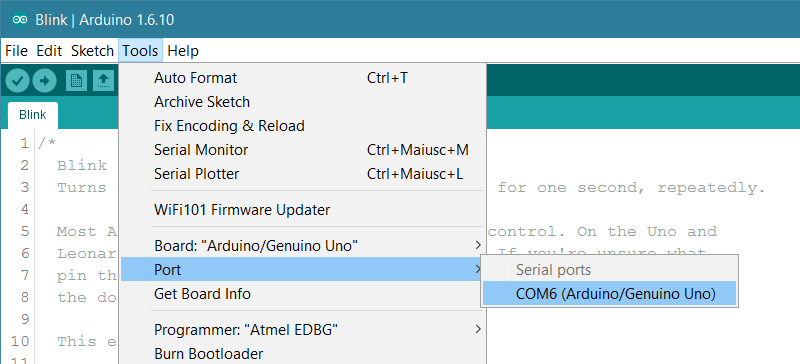
Select the port:
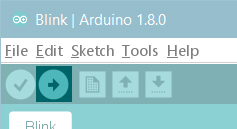
Upload the program:
In the result you may see Blinking LED next to 13th PIN.
Task 1:
For this task we will need only Arduino UNO and USB cable. Connect Arduino board to the computer. Open Arduino IDE software.
Select your board type:
Select the port:
Upload the program:
In the result you may see Blinking LED next to 13th PIN.


